We may earn money or products from the companies mentioned in this post.
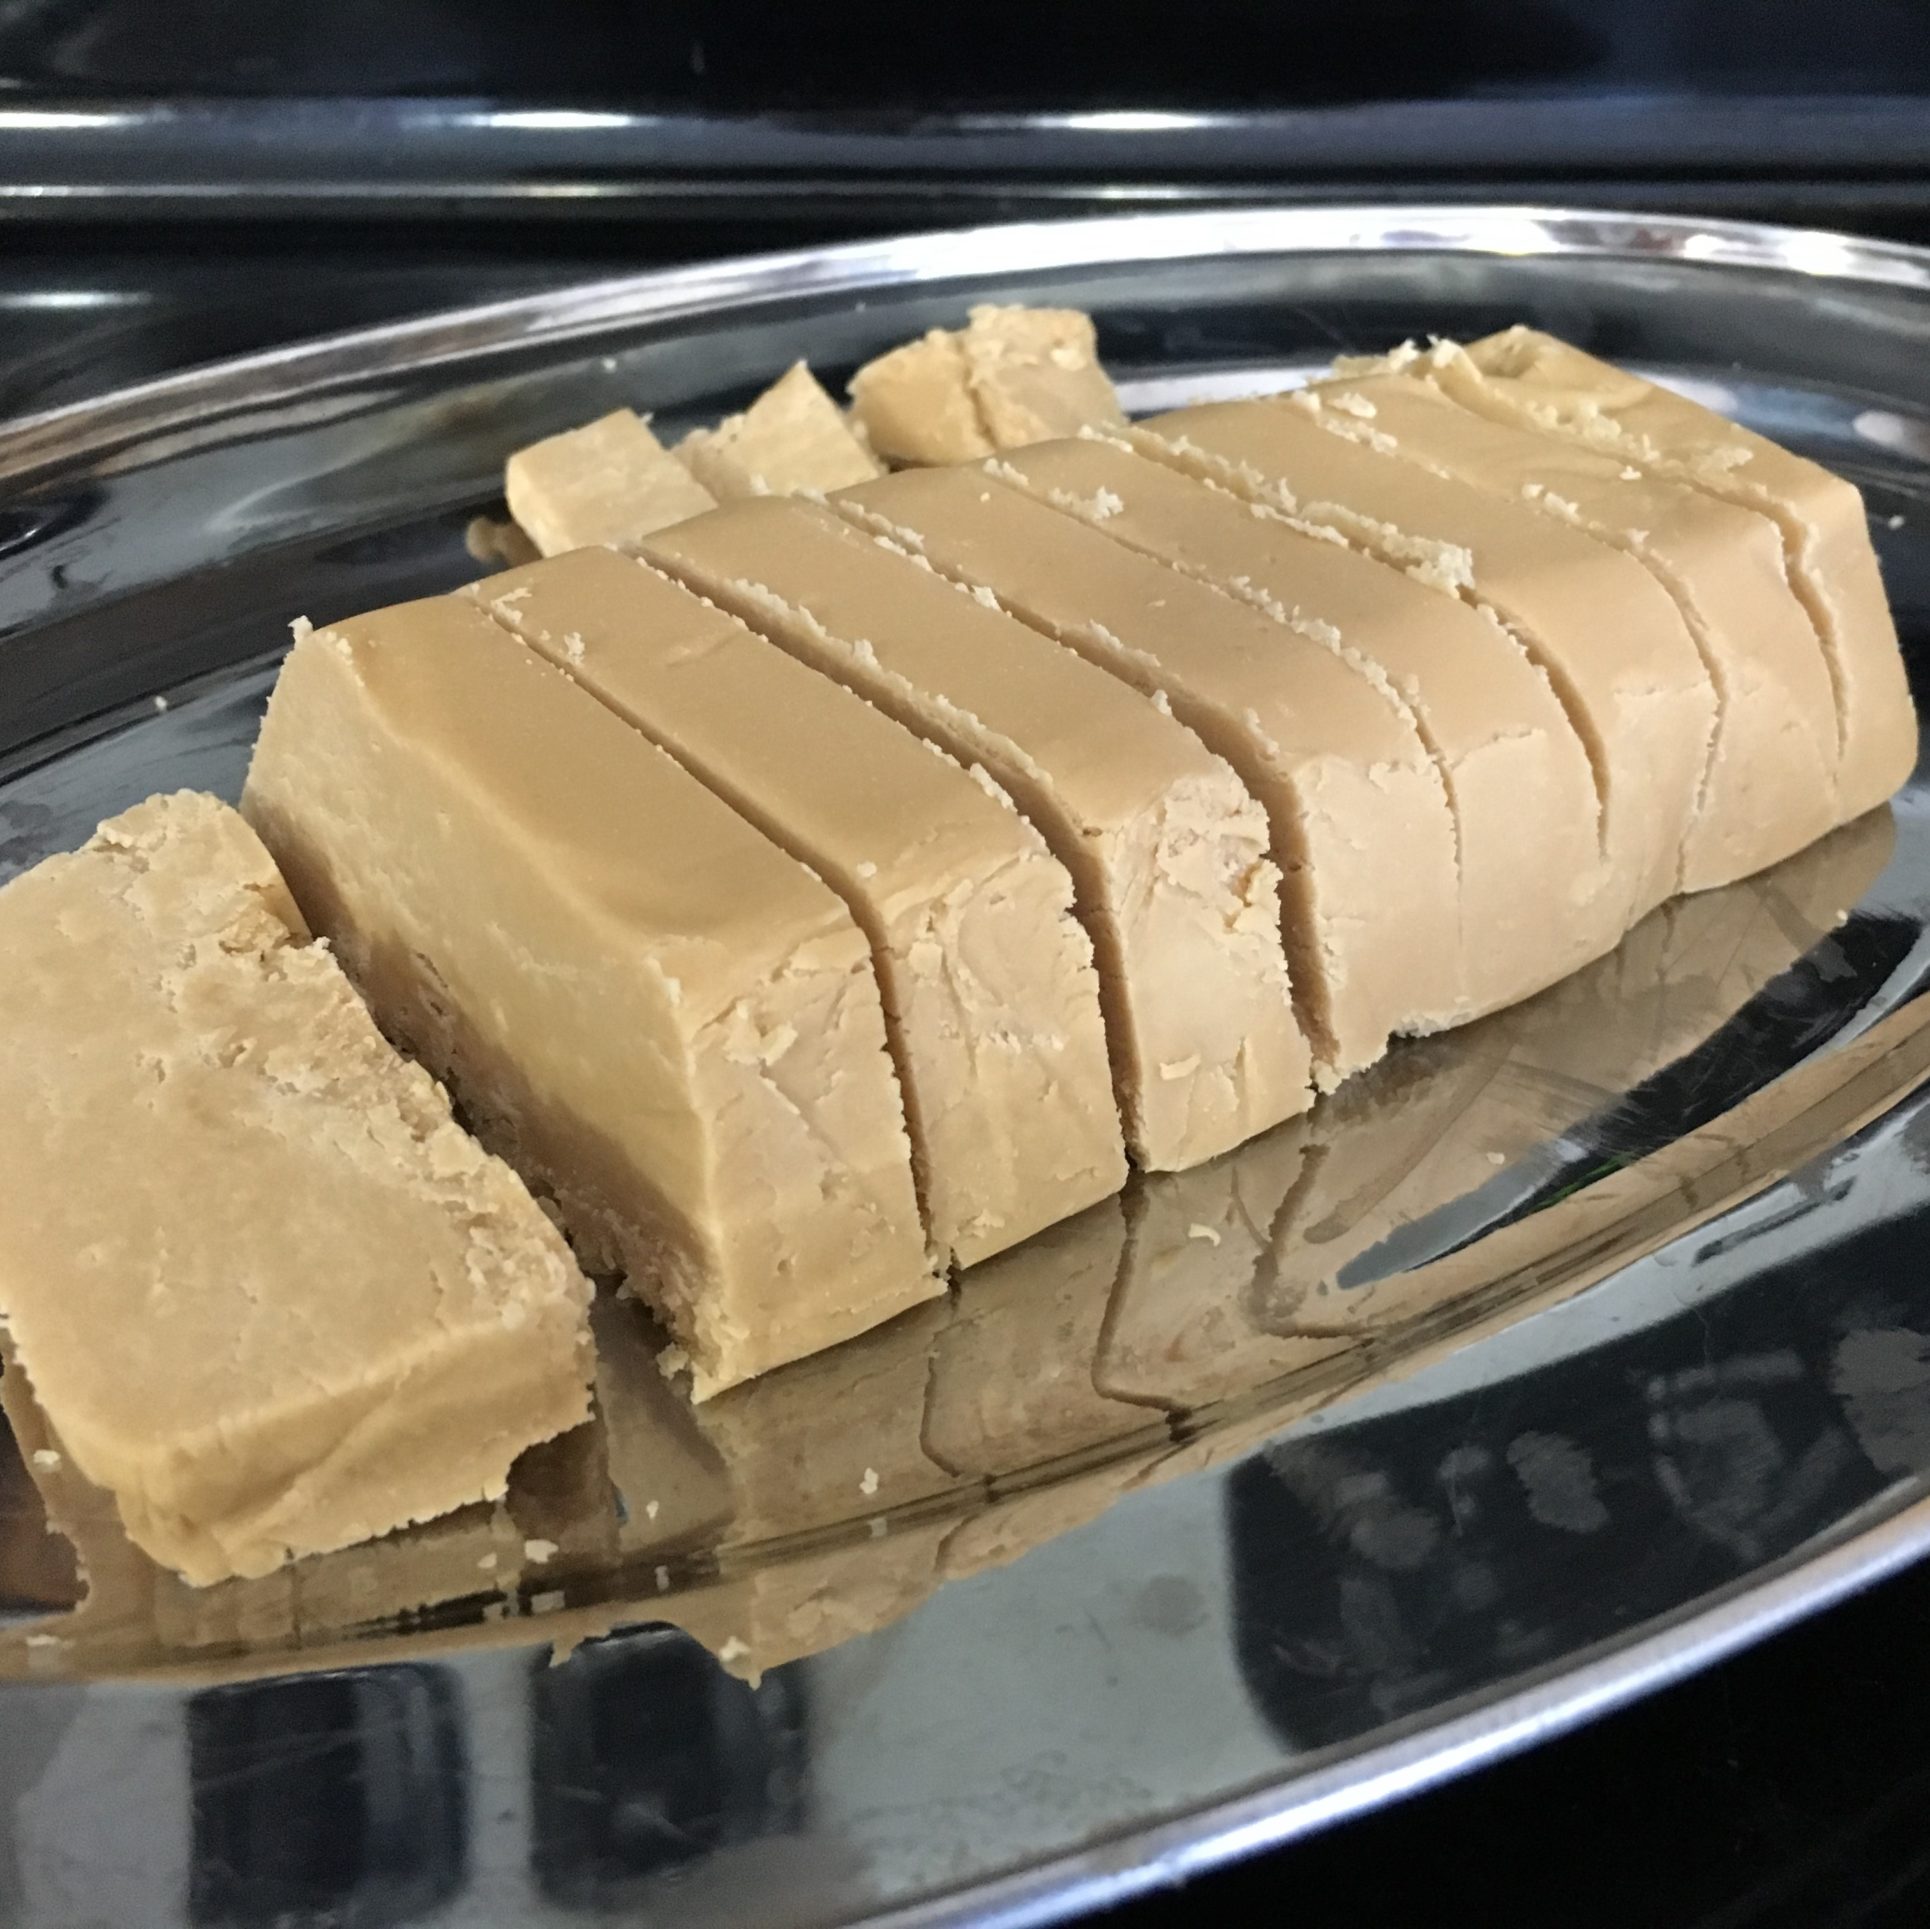
How to Make The BEST Maple Fudge
One of my favorite things to make is fudge! I successfully tried multiple recipes in search of how to make maple fudge and found perfection with this easy maple fudge recipe.
My Preferences
I enjoy using recipes that require minimal ingredients and are easy to make. I also choose to bake using 100% Pure Maple Syrup for all my maple desserts mainly because we produce maple syrup and this is a natural sweetener providing a wonderful tasting soft candy.
100% Pure Maple Syrup is a unique and natural product produced exclusively by the concentration of sap from the maple tree. It is a natural sweetener that contains no added sugar, colouring agents, artificial flavourings, preservatives or other additives.
What is the best way to store maple syrup?
According to Massachusetts Maple Producers Association; unopened, maple syrup will keep indefinitely. Maple syrup is an all natural product with no preservatives. Therefore, once a container of maple syrup is opened; it must be kept refrigerated.
The BEST Maple Fudge
The following recipe requires only 3 ingredients and has a wonderful maple flavour
Ingredients
- 1 cup 35% cream
- 2 cups pure maple syrup
- 3 tbsp butter
TIP!
If you prefer creamier fudge, increase the 35% cream up to 2 cups maximum.
I had fun trying many maple fudge recipes and created a few batches altering quantities of the syrup versus cream which resulted in taste testing challenges. My family chose the above ingredient quantities as our family’s best maple fudge recipe.
This is a recipe that works every time I make it except for the one time that I was multi-tasking and the batch burnt and it was ruined. There was nothing I could do!
Supplies Needed
- Large Pot
- Candy Thermometer
- Hand Mixer
- Loaf Pan
- Plastic Spatula
- Measuring Spoons
- Measuring Cup
- Large Mixing Bowl
- Parchment Paper
Instructions
Grease the loaf pan with butter then line the pan with parchment paper, leaving a bit of an overhang on the sides. By doing this will make it easier to remove the fudge from the pan once set and ready for eating.
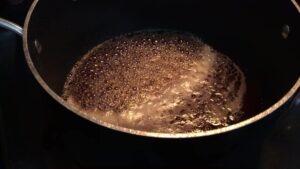
In a large pot, bring the maple syrup to a boil over medium heat; simmer for 5 minutes. Set the timer!
TIP!
Do not multi-task while making this recipe it’s very important to pay close attention to the boiling process when boiling syrup because it can lead to a spill out.
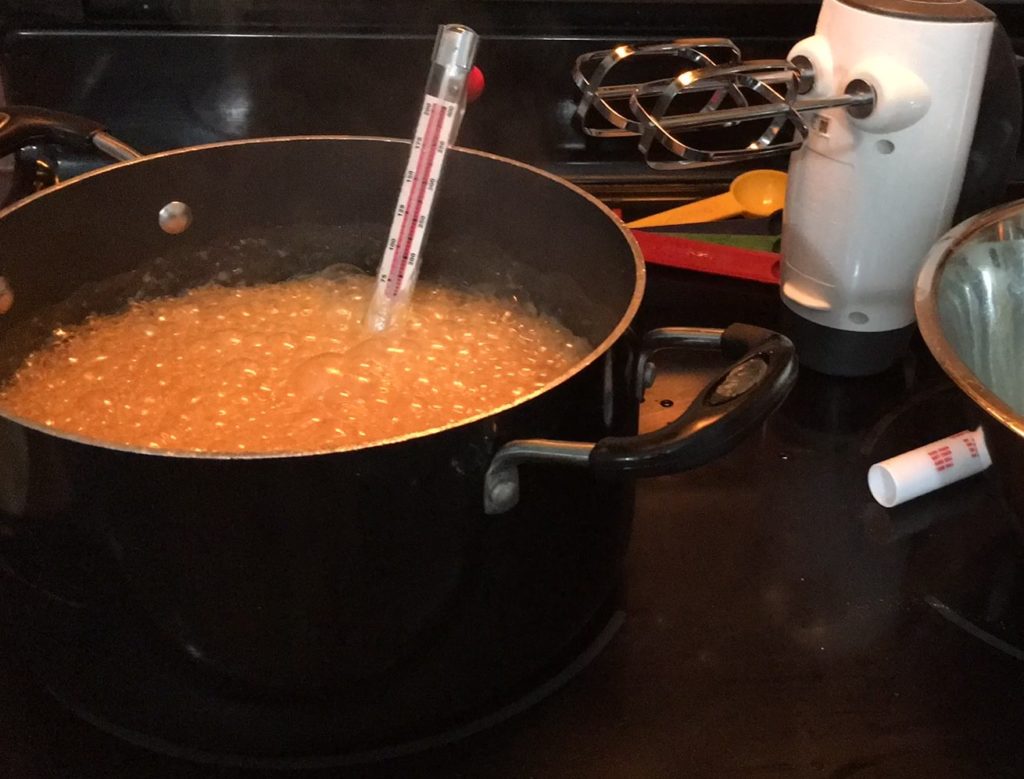
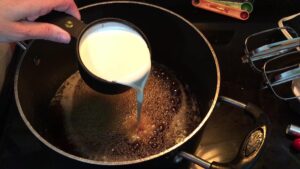
After the 5 minutes, pour in the cream; without stirring bring the mixture back to the boil and then let it simmer until it reaches 236 degrees Fahrenheit on a candy thermometer, which should take approximately 30 minutes.
Remember to stay close, as the mixture can rise high in the pot during this boiling step and can also burn
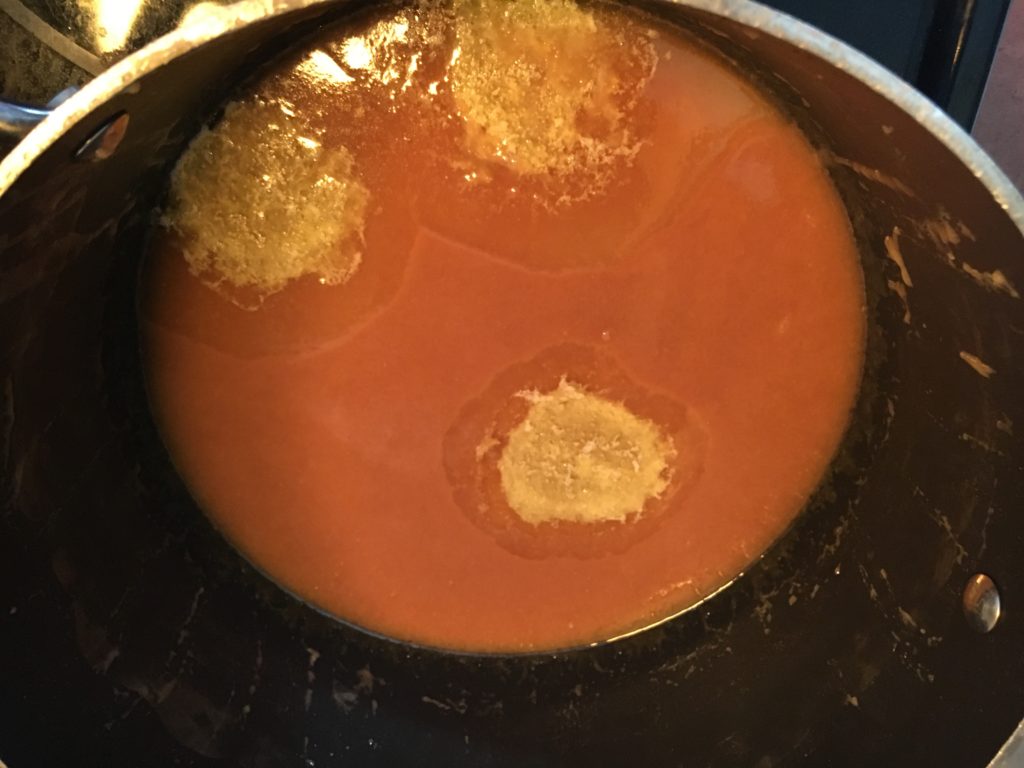
As soon as the mixture reaches that temperature, remove the pan from the heat source. Next add the butter to the mixture but do not stir it in. Let the mixture cool for 8 minutes. Set the timer.
TIP!
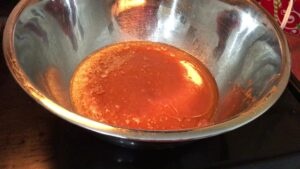
After the 8 minutes, I carefully pour this mixture into a large bowl to protect my pot because I don’t want to scratch it when we start mixing. This is not a necessary step to take and one must be extremely careful doing this to prevent getting scolded when transferring the soft candy from the pot to the bowl.
Beat with an electric mixer on medium speed for 5 minutes. Set the timer. The fudge has turned out perfect each time I make this recipe.
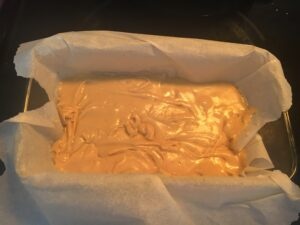
Promptly transfer the fudge to the prepared loaf pan; spread all the way to the edge and transfer to the fridge until completely set, this will take a few hours.
TIP!
This makes a perfect make-ahead dessert that is best made the day before!
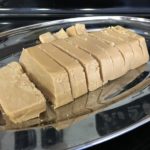
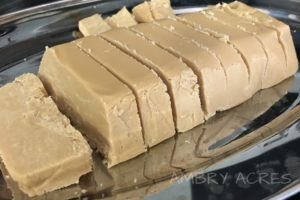
Lift the fudge from the loaf pan and cut into small squares with a sharp knife. This is rich fudge and should be enjoyed by eating small quantities at a time.
TIP!
When first removing fudge from the fridge, let it sit on the counter for a few minutes as this will make it easier to pull the parchment paper and fudge out of the loaf pan. By doing this, the butter on the bottom of the pan will soften and the dessert will lift out easily.
Keep in the fridge in an airtight container and is best enjoyed if eaten within a few days of being made.
On occasion, I have placed the fudge into the freezer and it keeps well for a few weeks. To thaw, place the maple fudge in the fridge until ready to serve.

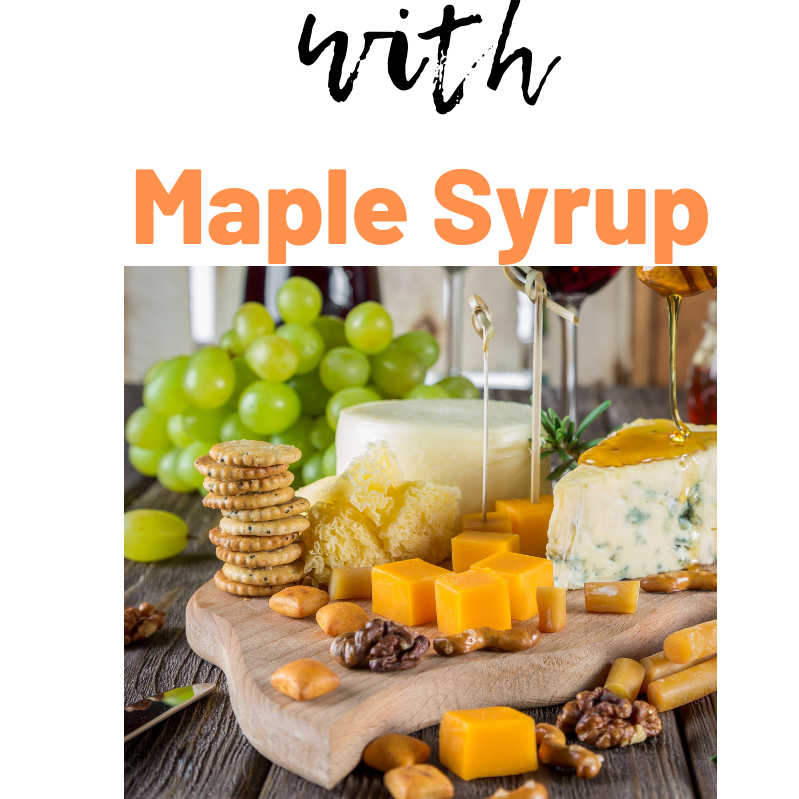
How to Use Maple Syrup!
The delicate flavour of maple allows for an array of cooking options. If you intrigued and seeking additional inspiration on how to introduce more maple into your everyday cooking, then please see our 5 Uses of Maple Syrup post here
Homemade Maple Fudge Recipe
Maple Fudge
Equipment
- Hand Mixer
- Candy Thermometer
Ingredients
Ingredients
- 2 cups 100% Pure Maple Syrup
- 1 cup 35% Cream
- 3 tbsp Butter unsalted
Instructions
Instructions
- Line a loaf pan with parchment paper, leaving a bit of an overhang on both the long sides. This will make it easy to remove the fudge from the pan once the fudge is set and ready for eating.
- In a large pot, bring the maple syrup to a boil over medium heat; simmer for 5 minutes. ( It is important to not multi-task now, it’s very important to pay close attention to the boiling process because it can rise to the top of your pot, if not careful)
- After 5 minutes, pour in the 35% cream; without stirring bring the mixture back to a boil and then let it simmer until it reaches 236 degrees Fahrenheit on a candy thermometer, which should take approximately 30 minutes. (Remember to stay close, as the mixture can rise high in the pot during this boiling step and/or the syrup can overheat and burn in your pot)
- As soon as the mixture reaches that temperature, remove the pan from the heat source. Next add the butter to the mixture but do not stir it in

- Let the mixture cool for 8 minutes. (Once my timer rings after 8 minutes of cooling, I carefully pour this mixture into a large bowl to protect my pot because I don’t want to scratch it while using the hand mixer. It is not a necessary step to take and one must be extremely careful doing this to prevent getting scolded)
- Beat with an electric mixer on medium speed for 5 minutes, the sugar mixture gets thicker, lighter, loses its sheen and starts to show signs of crystallization.

- Immediately transfer the fudge to the prepared pan; spread all the way to the edge and transfer to the fridge until completely set, minimum 3 hours.
- Lift the fudge from the pan and cut into small squares with a sharp knife. This is rich fudge and should be enjoyed by eating small quantities at a time.
- Keep in the fridge in an airtight container for up to a week. On occasion, I have placed the fudge into the freezer and it keeps well for a few weeks. When ready to eat, place into the fridge to thaw prior to eating.
Notes

Pin It

Please let us know how you like this maple fudge recipe by sharing your comments.

Is it true if you leave maple syrup out on the counter and it gets a film of mold on top that 5 min at a slow boil and then skim foam will make it safe to eat or do you have to throw it away?
Hi Kathy!
This is quite the question, and many people wonder if it’s safe to remove the mold or should we throw it out. Thanks so much for asking this. I recently researched this topic and can share the following points with you. According to Cornell University’s Mushroom Blog, it states –
Whether to throw out the syrup is a hard question to answer. How much mold is there? Does this fungus make toxins in that sugary environment? Are those toxins produced in enough quantity to hurt you?
There are many different opinions on whether it’s ok to skim off the mold and reheat it or should it be just thrown out.
When mold forms on cheese, some people cut off the moldy section and continue to eat the cheese. So, can we take the same approach with maple syrup?
We have never encountered mold growing in our containers of syrup and this is because as soon as a bottle is opened, it is stored inside our freezer! Yes, it’s the perfect place to keep your syrup. If it is 100% pure maple, it will not freeze. If it does freeze, it likely was not concentrated to the right sugar levels when bottled.
We tell people not to eat moldy food and store your syrup in the freezer!
Maple syrup is an all-natural product with no additives or preservatives so it will go bad if it’s not stored properly.
This looks so easy and so good! And I’ve been relying more on maple syrup lately, until my grandson turns 1 in a few months and we can risk honey. It’s nice to find a fudge recipe that doesn’t rely on chocolate for its flavor, though I wonder, have you ever tried it with coconut cream? That’s what I’ll try it with first.
Hi Beth! Thanks for your reply and input. I absolutely love chocolate yet once I mastered this maple fudge recipe, I likely won’t re-attempt chocolate fudge. We love the maple flavour, it’s super easy to make, as long as you can not get distracted while making it. And, it requires only 3 ingredients and it turns out delicious every time we make it. Somewhat addicting though. As for the coconut cream, I have never tried this but would love hearing back from you to hear how it turned out! Please keep us posted
Sounds like a fabulous recipe! The video and the pictures were a great help.
Thanks LaDeana! I hope you get a chance to give it a try. It makes for fabulous treat to have in the house.
This looks so yummy! I can’t wait to try. I’m going to pin it to make soon 😉 Thanks for sharing!
Hi Cynthia!
That’s great to hear, When you get a chance to try this recipe, please let us know how it turns out for you.
This looks delicious! I’ve never made fudge but have always wanted to try, thanks for the recipe!
Thanks Kailee, If you do get a chance to try this recipe, please let me know how it turned out
Maple fudge has always been a favorite and this recipe is a definite keeper, thank you so much . I’m making a lot of this for little hostess gifts for Christmas parties.
Thanks Linda for checking out our recipe! I absolutely love maple fudge and this recipe has worked beautifully for me. I hope it works well for you too! If you have any trouble with it, please reach out. Enjoy!
Can chopped walnuts be added to the fudge? If so, when?
Hi Ruth, Walnuts can certainly be added to this maple fudge recipe. It’s best to add as the last step, just gently fold in the walnuts into your fudge mixture. Then pour into your container to allow time to set. I hope this helps and thanks so much for asking!
What is 35% cream? Can you whipping cream
Yes Brenda, 35% whipping cream is what I use each time I make this maple fudge recipe
I followed the recipe step by step but when I whipped it it just stayed a buttery toffee glob and didn’t get creamy at all. It’s in the fridge now but it doesn’t look like it’s going to be fudge at all!
Hi AnnMarie, Thanks so much for sharing your comments on this recipe. Just curious to better understand. Was the maple syrup used, 100% pure maple syrup? The reason I ask is because I have only made maple fudge using pure maple syrup and there are some other processed products that seem similar but are not quite the same due to the % of sugar content. This percentage will impact cooking results.
If 35% cream was substituted, this too could impact the results.
The only other key tip with this recipe, is that the syrup must reach 236 degrees and in order to ensure the temperature is reached we always use a candy thermometer.
Please let us know if the fudge did in fact set properly and whether it turned out or not. We certainly would love to hear back from you.
Bye now,
Anne @ Ambry Acres
Hello, if you double the 35% cream and leave the other ingredients the same, how long does it take you to reach 236? I had mine simmering for 25 minutes and the temp wasn’t increasing. Any suggestions?
Hi Nicole,
Sometimes it takes longer that I like to get the temperature up to 236. I make sure to stay close to the stove and not allow anything to distract me. As long as you can maintain your focus and stay at the stove, then I have turned the temperature up to medium-high but if it begins to boil up near the top of your pot, then I slide the pot off the burner to ensure that it doesn’t boil out of the pot or burn. Once the bubbles reduce, then slide the pot back onto the burner. The amount of time it takes can be altered by the temperature outside. Be patient and it will work perfectly. Thanks so much for trying this recipe, it’s most definetely one of my very favourites.
My husband is a maple fudge lover, it is his all time favourite treat. I myself don’t care for it and have never made it or anything other candy in my life. But, for Christmas, I decided to try my hand at this recipe. I bought myself a candy thermometer and the ingredients and went to town. I carefully followed each step and let me tell you it was hard waiting that 30 minutes staring at the bubbling mixture but it worked!! He said it was incredible and couldn’t be happier. Thank you for sharing this in such a detailed fashion, I truly appreciate it. Merry Christmas!
Thanks Jessica! It is totally my go-to recipe and I wasn’t really a huge fudge eater however have 100% become one. What’s phenominal is that it also freezes well, in case you want to make ahead or have on-hand. I find that it makes my life easy, to have a batch in the freezer for easy thawing and for last minute reasons. Appreciate your positive feedback. Merry Christmas
I’m looking forward to bringing home the ingredients and giving this recipe a try. As an editing suggestion on #5 “It is not a necessary step to take and one must be extremely careful doing this to prevent getting scolded.” I think you meant scalded.
Hi. I live in the UK. We have single, whipping, and double cream. How would I equate 35% cream to one of these. Single cream is a pouring cream only but both whipping and double will whip with double making a thicker whipped cream . We are coming up to Easter and thought I would try this recipe for coffee time after church.
Thank you, Take care Debbie
Hi Debbie, 35% cream is the same as whipping cream. Good luck with the recipe and hope you enjoy it/ THanks Anne